1. Indentation, not Swifty enough.
I’ve seen too many developers writing code like this below,
func neverDoThis()
{
 let fuglyCode = true
 if (fuglyCode == true)
 {
  print("This is atrocious")
 }
}
If I see the type of code above, I judge real hard.🤔 I assume that he/she has never read the API guideline/documentation or anyone’s Swift code before. Let’s take a look at how Apple engineers at WWDC would write.
// How Swift engineers would write
func swiftyWay() {
 let isLegit = true
 if isLegit {
  print("This is fine")
 }
}
If you spot anyone using the atrocious way, smack him in the head (gently)
Resources
Swift 3 Styling Guide Lesson (YouTube)
2016 WWDC Swift API Design Guidelines (YouTube)
2, Never Use Try!, as!, String! Unless %100 Sure
If you’ve been around, make sure you understand the differences between,
as as! as?try try! try?Int Int! Int?
If you don’t know what the heck you are doing and you resort to those 😡s on the left side of Xcode, you are bound to see that, “Found unexpected nil” message. Stop being passive. Move your butt and understand what they mean. Especially for those who took beginner courses on Udemy (including myself), you need to figure out your own.
Resources
Optionals Lesson (YouTube)
Type Casting Lesson (YouTube)
Error Handling Lesson (YouTube)
3. Never make function more than 20 lines
My friend asked me to review his code yesterday. One function had 50 lines. It covered the entire Xcode black screen. I was like, this shit isn’t going anywhere. I told him, “I don’t want to read your code because your code is fucking ugly”. I told him to break it into pieces and modularize. The truth hurts but he is my friend and I needed to be real and clear. No bullshit trying to please him.
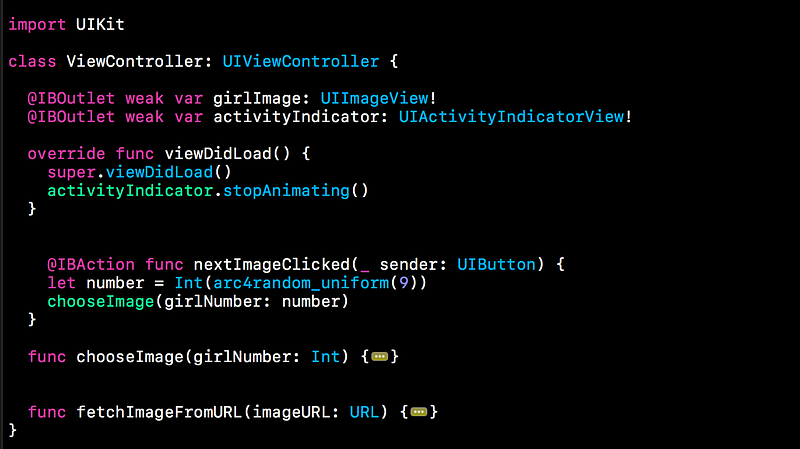
For example, instead of writing something like this, although the below is not too crazy,

Break it down into pieces.
4. UI Main Thread, Networking Background Thread
The concept of mult-threatding (a group of tasks done by CPU) is daunting. I don’t blame you. I don’t have a computer engineering background, and I still don’t know much of it.
I wrote two articles why you need to use the main thread for UI updates and the background threads for networking. So, I will skip this part.
Resources : Intro to Grand Dispatch Central with Bob (Medium) UI and Networking like a Boss in Swift 3 (Part 2) (Medium)
5. Don’t make Swift file over 200 lines
I made this mistake when I first learned how to make apps. I made a file with more than 800 lines which inlcude multiple UIViewController classes and models. It’s something that I wouldn’t repeat. Once you hack, you never go back. Of course, if a file is JSON or content based, it may contain more than thousands of lines.
I’m not going to explain all these concepts in detail but I will tell you what you could study and make your entire app nice and clean.
There are a couple ways to fundamentally reduce the number of lines and still be readable. You can make resuable code using Protocol Oriented Programming with
UITableVIew and UICollectionView. If you are using MVC which stands for Massive View Controller you may want to find out how MVVM works.Resources : Extension Lesson (YouTube) Intro to Protocol Oriented Programming (Medium) Protocol Oriented MVVM in Swift 2.0 (Natasha) Protocol Oriented Views (Natasha) Protocol Oriented TableView and CollectionView (Basem Emara)
6. Never hard type anything. Enums, Enums, Enums
Have you realized that the reason we can auto-complete a lot of properties in Xcode is due to Enums? It may seem obviously, but maybe not so for beginners.
The last thing you want to do in programming is hardcore typing rather than picking and choosing. For example, when you make
UIAlertViewStyle, UIKit engineers created,public enum UIAlertViewStyle : Int {
case `default`
case secureTextInput
case plainTextInput
case loginAndPasswordInput
}
Can you ever imagine typing each case? I can’t because I don’t think about it since it’s a must. Do not hard code not only for yourself, but for the sake of grey hair of your teammates.
Resources : Enum Lesson (YouTube)
7. Name. Be descriptive. Styling Guide
According to the Swift API guideline, there were a couple standards developers should go by.
1. Convention > Uniqueness
Every programming language has its own character and style. Although subjective, the convention can be found through reading the Swift documentation and Swift files written in open-sourced projects. Again, I highly recommend you to take a look what it feel to write with a Swifty manner. Instead giving you examples, I will provide you with resources down below.
2. Expressive > Impressive
There are some dudes who like to make things twisted so that they feel a sense of superiority since others can’t read. This is bullshit. No one should ever do this. It’s all about effective communication with one another. Yes, code is a way humans talk to computers. But, it’s also between us, developers and geeks. Please don’t be that arrogant dude who tries to use Shakespearish words to impress. No need.
3. Clarity > Brevity
Swift developers ask us to be clear with names so that when we come back three weeks later, we are good. However, there is no black and white. It’s the balance between using descriptive names and reducing the number of lines overall at the same.
“Brevity itself is not a worthwhile goal. Concise code is a consequence of using contextual cues” — Doug Gregor, Swift Engineer
// Too brief & Lack of context
let a = "A"
let b = "B"
If I were to read the code above, I would be confused what exactly a and b stand for throughout. So, I have to go all the way to find what they are. Why can’t we be a little more descriptive by writing,
// How I would do it
let capLetterA = "A"
let capLetterB = "B"
Resources : Swift 3 Styling Guide Lesson (YouTube) Swift API Design Guidelines at WWDC (YouTube)
8. Use Guard
The Guard statement is not only useful for unwrapping optioanls but also for replacing
if-else statements and provide an early exit out of the function using break or using return. It allows anyone to identify what would happen if the condition isn’t met without scrolling all the way to find that else block. Let’s take a look at a real-world example.let name = "Bobby"
func checkName() {
  // Early Check
  guard name == "Bob" else {
  print("You ain't Bob")
  return
 }
 // I can do anything I want without seeing the else block.
 // So much freedom
 // You don't even need to read this
 // Why are you even reading this
 // Now, you may leave. I'm not going to say anything important
 // In this block of code
// Lol... you still here?
print("You Good, bro")
}
If you don’t understand what it means to unwrap optionals and have an early exit, check the resources down below.
Resources : Guard Statement Lesson (YouTube) Optionals (YouTube)
9. Don’t use NS if you can
I do not code in Objective C, so I try to avoid it as much as I can both mentally and physically. Unless you are interacting with Objective-C APIs, stay away from using
NS even if Swift automatically converts some Objective-C types to Swift types, and some Swift types to Objective-C types.
It is true that Swift is inspired by Objective-C and many other languages, however, it is an independent language. I’m not sure how much the conversion slows down, but it’s recommended Swift developers avoid if possible. You can take a look at the alternatives since Swift provide its own native libraries and APIs.

“Historical Note: If you’re wondering why so many of the classes you encounter have an NS prefix, it’s because of the past history of Cocoa and Cocoa Touch. Cocoa began life as the collected frameworks used to build apps for the NeXTStep operating system. When Apple purchased NeXT back in 1996, much of NeXTStep was incorporated into OS X, including the existing class names. Cocoa Touch was introduced as the iOS equivalent of Cocoa; some classes are available in both Cocoa and Cocoa Touch, though there are also a large number of classes unique to each platform. Two-letter prefixes like NS and UI (for User Interface elements on iOS) are reserved for use by Apple”. — Apple
10. Don’t Rely on Segues
Beginners tend to make too many Segues to a point when storyboards look like a spider web. Once you go beyond a certain threshold, it becomes unmanageable and hard to track each viewcontroller. Therefore, use Delegate/NSNotification to send data. Use multiple storyboards instead of one. If you are comfortable with Delegate, you can start using RxSwift or ReactiveCocoaso to pass data or send notifications with just a couple lines of code. This topic is a bit too broad, so I will break it down into piece in later with YouTube videos and Medium articles.
0 comments:
Post a Comment